Tuesday, November 7, 2017

TR Holsters - P-10C Light Bearing OWB and New Belt Loops

It was time to give my tan P-10C some love.  My black P-10C lives in a Kryptek Raid OWB kydex holster from TR Holsters.  This is my IDPA/USPSA rig.  My EDC is a soon to be RMR'd fde P-10C that spends its days AIWB.   I'm signed up for a Sage Dynamics Home Defense class in November revolving around working a carbine and pistol in a shoot house, I'll need an OWB holster since AIWB would be somewhat impractical.  I don't want to tear up my competition holster, and it doesn't have a provision for a light anyway.  The solution, an OWB holster for my P-10C/TLR1 and double mag carrier in Multicam from TR Holsters.


The kydex is 0.080" thick and the holster is constructed with the same excellent finish and attention to detail as I've seen previously.  The gun/light combo fit a little tighter than I'd like for a range or competition holster, but not so tight that I couldn't get a clean draw without the holster pulling my pants up to my armpits.  I figured it would loosen up a bit with use.  Since this holster doesn't have active retention, I like the extra security in case the grip hangs up on obstacles, my sling, or other gear.  The mag carrier does have a tension adjustment screw, which I adjusted tighter than my competition setup.

My schedule being what it is, I couldn't get to the range for a few weeks, but that didn't mean I couldn't do some testing.  I loaded everything onto my Ares Gear Aegis belt, and spent Labor Day catching up on yard work in the August sun.  I mowed my lawn and edged the fences and sidewalks.  I also replaced a sprinkler head, re-staked some landscape edging, hand pulled a few dozen weeds, trimmed the hedges, spread a few bags of mulch, and refreshed the kid's sandbox.  Other than a few odd looks from the neighbors, the day was uneventful.  Everything on my belt was covered in a mix of soil, sweat, and mulch.  Even after rolling over top of them a few times, my pistol and magazines didn't move.


"Yard Work" Carry


Later in the evening, I examined the kydex for wear.  As expected, there were a few scratches in the MultiCam, but I didn't see any evidence of cracks in the holster, carrier, or belt loops.  After cleaning everything off, I started experimenting with TR Holsters new belt loops.  These are similar their standard injection molded loops, but the body side is angled about 25 degrees.  They allow the wearer to adjust the entry and exit angles of the belt, effectively changing the curvature of the holster to better fit different body types.  These can by combined as the user sees fit for better comfort, or to slightly alter the angle that the holster sits against the body.


Standard Loops

Angled Loops for less curve

Angled loops for more curve
After trying several combinations, I found that using a straight loop in the rear and an angled loop up front works best for me.  I did the same with my other IDPA holster, also from TR.

My preferred combo
TR OWB holster with angled front loop

Obviously, suburban homeowner activities aren't a true test, but family, work, and two freaking hurricanes were conspiring to keep me off the range for a while.  I finally got some outdoor range time a few days ago.  In preparation for my upcoming class, I practiced weak shoulder carbine drills, and non-dominant eye shooting with the pistol.  I'll also ran through some austere positions (supine, urban prone) to further test the durability and function of the holster.


I didn't drive over them with a truck or anything unrealistic, but I did run them pretty hard.  The holsters held up perfectly.

Saturday, October 14, 2017

Eaton Tactical Innovations - Pelican 1720 V3 Foam Case Insert

ETI 1720 v3 with HD class gear
Next month I will be travelling to Florida for a Defense In The Home class by Sage Dynamics.  This is a live fire course that will take place in a shoot house.  For most rifle classes, I'll bring a suppressed rifle, class handgun, and EDC handgun.  Since this is an HD focused class, I also wanted room for a pistol suppressor.  Since I don't have the time to drive the 13 hours, I'm going to have to fly commercial.  This will be my first flight with firearms, and considering I'll be packing NFA items, I won't be leaving anything to chance.

The first step was to file my form 20s (permission to travel with NFA items) with the ATF.  I received my approval in 30 days.  Second was a case to secure my guns.  The industry standard is the Pelican case, and I wasn't going to risk $10k worth of equipment by saving $80 on a cheaper case.  I chose the 1720 model.  I wanted a case that was large enough to carry up to a 16" AR with suppressor and two RMR'd pistols.  Case in hand, the next step was to cut out the foam insert to keep everything from bouncing around.  I didn't want to use pick-and-pluck foam since it absorbs moisture and degrades quickly over time, leaving black dust particles everywhere.  It also looks like a Minecraft level when done.  I watched a few videos on YouTube, broke out my electric carving knife and went to work on the factory foam insert.

Pelican Foam - Functional but ugly.

Pelican Foam - My guns deserve better.

Keeping the knife perpendicular to the foam as it flexed and squished in my hands was a royal pain.  I'm normally pretty handy, but the results speak for themselves.  It would work, but considering the time and expense up to this point, it looked shoddy and I didn't want to cheap out now.  I also doubted if the soft foam would hold up long term and there was still the problem of moisture soaking into the foam.  Next I tried a Kaizen foam insert.  I found an over-sized sheet on Amazon, trimmed it to fit the case, and then cut the pattern for the guns.  But the layers didn't peel away cleanly when doing large sections like for the buttstock and pistol areas, leaving chunks of foam in an uneven mess.  The cutout bottoms looked like the surface of a cratered moon.

Kaizen Foam - from buttstock section


Kaizen might be fine for organizing tools in a drawer, but in this application it looked half-assed.  Most of the pics I've seen online don't show the cutouts up close, and they often show the finished cutout with equipment inserted, masking imperfections.  For a truly professional look, custom foam inserts are available online, but cost nearly as much as the Pelican case.

As luck would have it, a few days later, Jon Dufresne (one of the instructors who will be teaching the HD class), posted a video and write up on the ETI 1700 V3 case.  I went to ETI's website but was disappointed to find that they didn't offer a similar version for the 1720.  I sent an email inquiring about a 1720 sized insert and received a response from the owner, Frank Eaton.  He said that the insert I was looking for was already in production and would be available the following week.  He sent me a Paypal invoice and 3 days later, my insert arrived.  It was wrapped in a simple black plastic sleeve to minimize shipping costs.  $73.99 in total.  Compared to the $58 I spent on the Kaizen foam, this is an awesome value.  A .58" thick solid foam insert serves as the bottom, while the 1.15" main insert is CNC water-jet cut for the guns, magazines, and other accessories.  The larger cutouts have 1/4" sections that are left uncut, requiring the user to trim them with a razor or utility knife.  This keeps them from popping out during shipping.

ETI - Rifle Cutout and Optic Pucks

ETI - Pistol Cutout

ETI - Rifle Rail Pucks
The gun compartments have mostly pre-cut sections for longer barrels, grips, optics, lights, etc.  The sections can be removed simply by trimming away the last bit of retaining foam.  I simply laid my guns over the cutouts and removed the offending blocks.  I only had to manually trim the foam to fit the steep angled Magpul K grip and a section for the second pistol's RMR.  I removed an extra barrel section to accommodate my 14.5" rifle with suppressor, but saved that piece to re-insert when using the shorter gun.  Being able to leave the suppressor on my rifle means I can utilize the suppressor compartment for my pistol can or additional rifle mags.  The utility compartments can hold cleaning kits, NV, and IR lasers.  There is an oval shaped hole behind the pistol grip that I couldn't see an obvious use for, so I threw in my LDAG.  The last optional step is to hot glue the 1" thick cutout section to the 1/2" thick base pad.  I skipped this step since I don't know what sections I might want to remove in the future.

First and foremost, this insert just works.  All my items are well protected.  Not only is everything safe from rough handling and the elements, but the closed cell foam doesn't retain moisture.  I can appreciate that after my last rain soaked class.  The versatility of the pre-cut pucks, means I don't need another insert just to change out equipment.  The cost is only marginally more than blank foam from Pelican or Kaizen, and nearly identical to Pelican's pick-and-pull inserts.  Subjectively, the presentation value is off the charts.  Opening the case feels professional and businesslike.  As an added bonus, the foam guns make neat training aids.  My 4-year old loves them.  

"Nerf" guns
I only wish the insert had more rifle magazine storage.  I try to bring at least six magazines to a training class to minimize reloading downtime, and to have extras if one gets compromised in some way.  TSA regulations allow ammunition to be packed as long as it is stored in factory boxes or loaded in magazines.  (American Airlines does NOT allow ammo to be stored in magazines.)  Pelican cases have a 1.5" thick foam pad in the lid, and two 1.5" foam pads in the main compartment.  The bottom foam seemed like a lot of wasted storage space.  I sent an e-mail to ETI asking if they had considered producing a base insert with shallow cutouts for magazines.  A day later, I received an email stating it was being considered, followed by another e-mail with this photo asking me if I'd like one of the first runs.

Photo from ETI e-mail
A few days later, and $46.99 poorer, a familiar black bag was waiting on my porch.   To keep costs down, ETI only cut the mag compartments for 30 rounders.  Trimming them to secure a 10 round magazine was no problem, nor was adding clearance for my MagPod equipped magazines.  This brings my total rifle mag count from 2 to 9, and pistol mags from 7 to 11.  Unfortunately I can't fill every magazine with ammo since it would put me over the 11 pound ammo limit set by the TSA.  Nine 30-round mags of 55gr .223 and 100 rounds of 9mm keep me a few ounces under the limit.  Since I haven't yet glued the upper layers together, I have to remove all my gear before lifting out the upper insert, but it's a small price to pay to be able to pack everything in a single case.  Considering baggage fees, it pays for itself in one round trip.


Sunday, October 8, 2017

CZ P-10C - Jagerwerks RMR cut

After shooting over 4,000 rounds between my two P-10Cs, I'm  ready to start transitioning away from the Glock platform for EDC.  Since I purchased my P-10Cs, I had been waiting for someone to offer the exact slide milling services I wanted.  RMR with irons forward, extended front/top serrations, and black nitride.  A bunch of companies have cropped up offering RMR milling, but I've been hesitant.  I've seen some RMR cuts that are very far forward, to allow ample space for the mounting screws to clear the striker safety tunnel, but covering the extractor pin, and placing the rear sight dovetail very close to the ejection port.  Others skip the recoil bosses, and while they aren't really needed, I prefer to have them.  Also, while RMR cuts aren't a secret, very few shops have been forthcoming about how they do their cuts and why.  When someone goes into detail about their processes, it shows pride in their work and confidence that they are providing the best product they can.  One company that ticks all the boxes for me is JagerWerks.  I've had work done by them in the past and when they announced that they'd be taking CZ slides, I decided to wait.  For what seemed like an eternity (less than a month) I saw RMR'd P-10Cs pop up on social media from other reputable shops, but they were all missing at one or more of the features I wanted, and I didn't want to settle.


When P-10C services appeared on JagerWerk's webpage, I placed the order and shipped my slide without hesitation.  Their RMR cut is far enough back to expose the extractor pin.  It positions the RMR and rear sight (in front of the RMR) in about the same position as my Unity Atom slide.  The RMR cut is .185" deep, compared to the ~.120" deep cut on most Glocks.  While not low enough to use factory height sights, I can get a lower 1/3 co-witness without absurdly tall suppressor sights.  Another small detail is that they give the RMR cut a .2 degree downward angle to compensate for the RMRs higher height over bore than the factory sights.  Considering the RMR has 150 MOA of adjustment range, this step is largely unnecessary, but it's another example of attention to detail that may go overlooked at other shops.  While front top serrations by themselves are nothing new, they also offer chamfer serrations that blend the factory front serrations up into the top serrations.  I often find myself griping the front of the slide buy the smooth sloped portion, so the additional traction provided by the serrations and the sharp corners is welcome.  As an added benefit, the additional weight reduction compensates for the RMR.  The whole assembly weighs the same as my factory slide with HTAC sights, 12.0 oz.  Finally, they offer black nitride refinishing (outsourced).  While I have been impressed by the Cerakote jobs they've done for me in the past, I prefer black nitride for its durability, and I'm willing to wait up to three more weeks.
Much grip

Sharp.

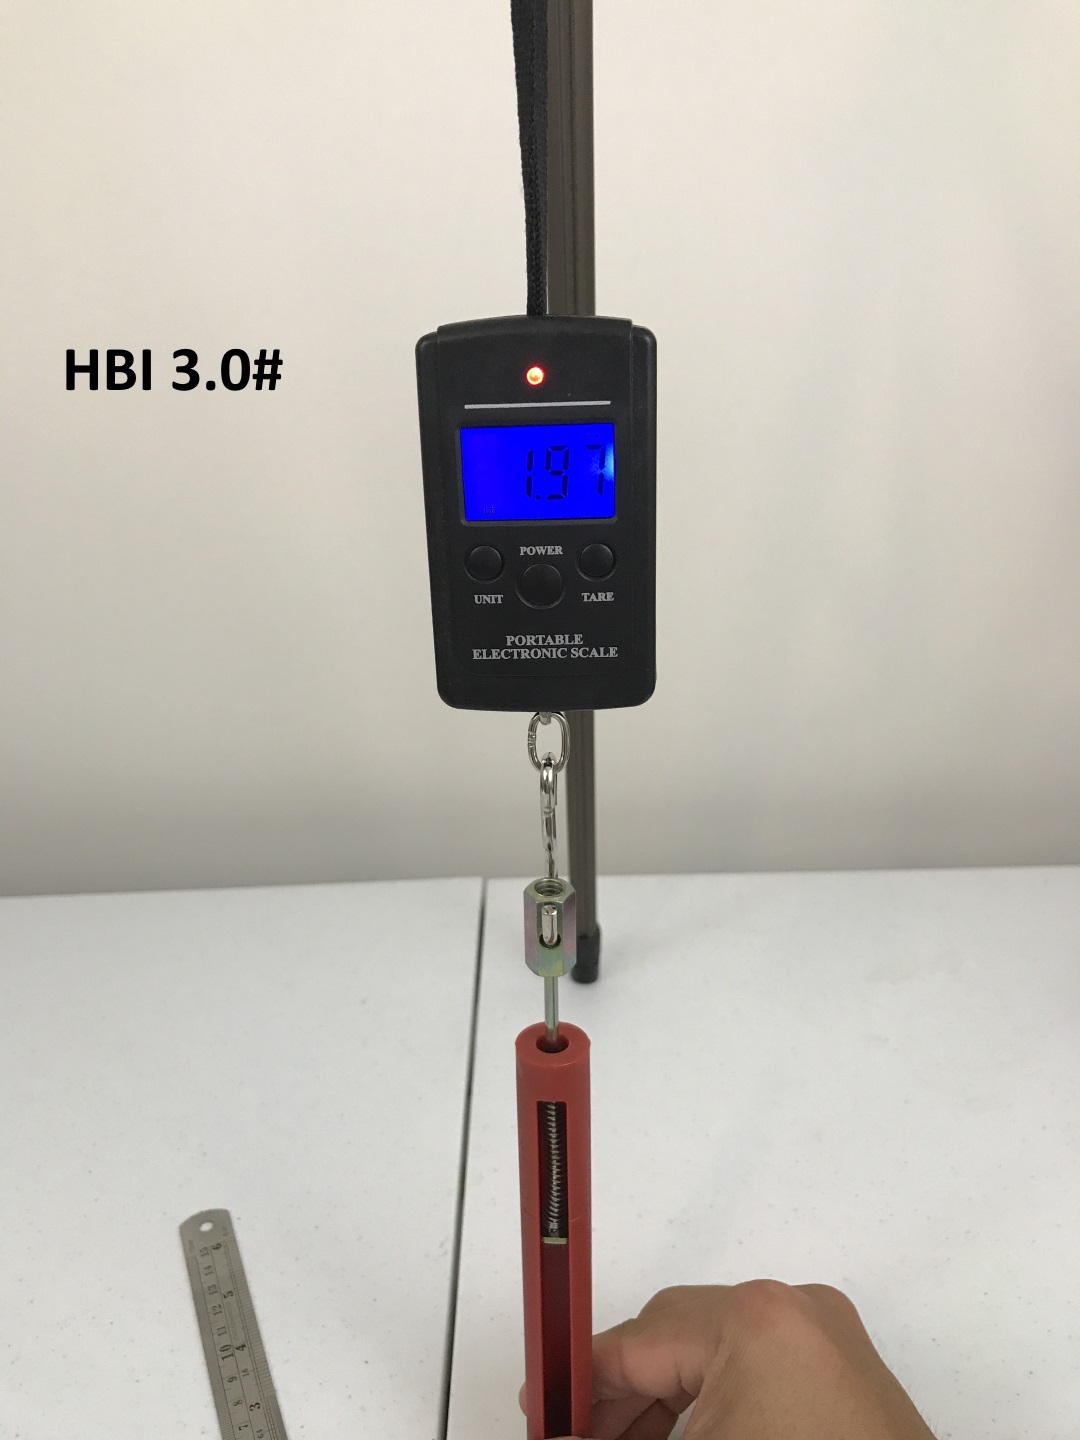
Same weight before and after.

JagerWerks no longer requires sending the optic in with the slide for a custom fit.  While I was leery of universal cuts in the past, Trijicon's tolerances are extremely tight, within .001", well within the capabilities of a competent machinist.  I've had no issues with universal cuts, at least with RMRs, on my BattleWerx, Unity Atom, and Glock MOS slides.  Agency Arms uses universal cuts and I've yet to hear of a complaint.  I've also had no issues with my ADM and Midwest Industries RMR mounts.

For the sights, I chose to go with my favorite setup from Dawson Precision.  After doing some quick math, I settled on a P-09 .215" tall fiber optic front and a Glock MOS .225" tall black rear.  This gives me 0.075" of rear sight visible in the RMR window.  While this may seem too low for some, I give the optic priority, and it's still tall enough to get a good back-up sight picture.  I chose a fiber optic front for several reasons.  I often lose black front sights against dark backgrounds, and when shooting from very unorthodox positions, I don't always immediately acquire the RMR dot.  At my last vehicle class, when twisted around the driver seat and firing left handed, I liked having the green dot to fall back on if I lost my dot.  I chose green because I'm unlikely to confuse it with the red dot of the RMR.  Since both dots are on different focal planes, when I'm threat focused, the RMR dot is clear while the green dot disappears into the periphery.  I run my RMRs two down from the brightest setting, so the brighter red dot is almost always brighter and gets visual priority over the fiber dot.  I included these with my disassembled slide and shipped them off.  Two weeks later, I received a message from JagerWerks asking which color dot I wanted in my front sight, followed closely by a shipping notification.  Total time out of my hands including shipping: 25 days.
Accessible extractor pin


The slide arrived with the sights installed, with the rears perfectly centered in the dovetail.  I reinstalled the slides internals, noting how much more even the black nitride finish was compared to my stock slide.  My RMR literally "snapped" in.


It sits low, slightly higher than my CZC HTAC competition sights.

Low co-witness

I grabbed several boxes of ammo and headed to the range.  First I checked the irons at 25 yards with a wrist rest.  My POI was 1" high but centered.  While the sights were fine for shooting groups, their low height in the window was a hindrance at speed.  Then I got the RMR zeroed and shot some basic drills.  I didn't rack the slide with the RMR off any barricades or otherwise test the durability of the RMR cut as I hadn't yet applied any threadlocker.  I planned to re-install the RMR with Loctite and confirm return to zero first.  For this session, I shot 300 rounds to get familiar with the RMR'd P-10C.

With the exception of the sights, I'm in love with this package.  Manipulating the slide from the front is nearly effortless now, and the optic/rear sight placement works with all of my holsters.  The P-10 points more naturally for me than my Glocks, so I acquire the dot more consistently on the draw.  The lower optic height over bore also helps in this regard.  "Dot Torture" is still torturous, but the hold over required is less extreme inside of 7 yards.

As far my Glocks are concerned, even with the release of their new 5th Gen models, I doubt I'll be purchasing any more Glocks or related gear.  My G19 will continue duty as a suppressed nightstand gun since there are no threaded barrels or 31 round magazines available for the P-10C...yet.  And my G26 with still be my "quick errand"/"t-shirt" gun at least until the sub-compact P-10S is released.


***Update***

I replaced the front with a  .265" Dawson P09 and the rear with a .360" Ameriglo GL-408 sight.  POI is about 1.5" higher than POA, requiring a slight 6 o'clock hold at 25 yards.  Also, the rear sight is wider than the slide cut and overhangs slightly, but not enough to be a snag hazzard.  I have another set of these sights to use on my second P-10C.  It's currently at JagerWerks for the same slide package.


Slight rear sight overhang on both sides.

Low but effective

Bottom Co-Witness


Friday, September 22, 2017

CZ P-10C - Possible Failure to Fire Problem

The trigger on my black P-10 started failing to fire lately even after I swapped back in the factory trigger.  I could pull the trigger fully to the rear and the striker wouldn't release.  This only occurred occasionally during dry-fire, never with live ammo.  It's not the trigger but a combination of the trigger bar and the striker sleeve.  Compared to my FDE trigger bar, the "hook" that catches the striker leg sticks up about 1/8" higher when fully back.  Normally, it's still low enough to release the striker except when the slide and slide plate are pushed down.  The striker liner is flexible enough to allow the whole assembly to squeeze slightly out of the slide's striker channel.  The resulting lowering of the striker leg, means the trigger bar can't move down far enough to cleanly release it.  If I push the cover plate up, it raises the striker enough to release from the trigger bar.  I swapped, strikers, trigger bars, connectors, and the rear housings around, but the only thing that made a difference was the trigger bar.  Examining the two, the lug on the FDE is cut lower, resulting in a higher "hook".  


With striker fired guns, I've always noticed more consistent trigger pulls with a mag full of dummy rounds.  The rounds provide more magazine spring pressure to force the slide to its highest position on the rails, while with no dummy ammo/mag, the slide is pretty much free to rest at any height.  The P-10C has a pretty sloppy slide to rail fit for reliability (normal for striker fired guns) and the cover plate has some movement which exacerbates the inconsistency.  When fitting Ghost connectors with over-travel tabs for my Glocks, I always push the slide down while dry firing to ensure the trigger bar will always release the striker.
The biggest issue is the striker housing.  Since its plastic and open at the rear, the slot can get squeezed if you press the slide cover down, and the spring pressure can hold it there.  I think it's the reason for one FTRTBs I had when the plate dropped enough to hang on the rear of the trigger housing, preventing the last 1/8" of slide travel. Some newer P-10C have a bevel on the slide plate to let it ride back up if it gets too low.  Fortunately, when in battery, the slide plate does limit the amount the striker assembly can drop down.  Short of sending my P-10C back to CZ (I've modified mine enough that I probably voided the warranty) I think the immediate solution is to bevel the bottom front edges of the slide cover plate, and shave 0.010" off the trigger bar on the mill.  I have a feeling I'll be overhauling some of my parts once spares become available.


***Update***

I sanded a bevel onto the retaining plate to match the ramp on the center leg.  The plate will now be forced up as the slide goes into battery instead of catching.  I also shaved 0.0255" off the ledge on the trigger bar.  I setup the mill to cut the trigger bar at a three degree angle.  I wanted the cut to stop short of the striker safety lug.  I wanted to unsure that the striker didn't hit the "hump" as it travels forward.  Then I cleaned up the edges with an X-fine ceramic stone.  


The striker releases 100% now.  Originally the trigger had about 2mm of movement after the wall and zero over-travel.  Now it has about 1mm of movement during the break and 1mm of over-travel.  The break honestly feels like a 1911, just with more take-up.  Not a high-end 1911.  Grab the cheapest new 1911 you can find at a gun store.  That's how the trigger feels.  My only concern is milling into a MIM part.  Unlike barstock, MIM parts are usually only surface hardened.  However, since I didn't cut into the face of the ledge, the exposed metal only contacts the striker leg as the slide recoils backward.  It's held upward by slight pressure from the trigger springs, so impact should be minimal.  I'll monitor it as I shoot it more.


Thursday, September 14, 2017

CZ P-10C - Striker Spring and HBI Trigger Rates

One of my pet peeves is how gun companies rate springs.  Springs are typically rated in force/distance.  Gun companies typically label springs with just pounds.  A Governent 1911's recoil spring weight is the pounds exerted at 1.625" of compression.  Commander? 1.125"  Officers ACP? 0.700".  So when I look at a Glock 5.5# striker spring, what is that actually measuring? 5.5 pounds per inch?  5.5 pounds when cocked in the gun?  A 5.5 pound predicted trigger pull weight?

Who cares right?  Springs are cheap.  Just buy a few and measure the trigger pulls.  But trigger pull doesn't tell the whole story about how a trigger feels.  Take-up and reset are also effected by different spring rates and lengths, as is the energy delivered to the primer.  I'm also a huge nerd and like to geek out on little details.  So if your eyes are glazing over, scroll down to the results below.

I figured that the only way to predict the effects the striker springs in my P-10C, would be to find their spring rate (pounds/inch) and calculate the spring pressure when the striker is in various positions in the slide.  I picked up a simple spring rater from Brownells and setup a super scientific spring lab.

The Spring "Lab"

Adjusting for 1" of Compression

I used a camera tripod to hang the scale and assembled each spring into the rater.  I pulled the red spring tube down to the table, measured the distance, then adjusted the legs.  I repeated this until the tube consistently hovered 1" above the table surface.  Then I could take a weight reading.  Pulling down on the red tube would compress the spring until it hit the table.  This gave me a rough spring rate in lbs/inch.


Then I measured the length of each springs at rest, and the length of the spring when installed on the striker.  I got 1.371".  Then I had to figure out the distance the striker compresses the spring when it catches on the trigger bar, essentially the half-cocked position.  I removed the striker spring, then measured the distance from the strikers rear face to the exit of the slide at full forward and half-cock.  Subtracting one from the other gave me an approximate distance of 0.316".  With the trigger held to the rear, I could measure the fully cocked striker at 0.437"  Unfortunately, I didn't have enough hands to get photos of measuring the striker positions.

Striker Spring Length Installed

With these measurements I could calculate spring pressure at the forward, half-cock, and break positions.  Here's the raw spreadsheet:


Here it is broken down to % reduction in spring pressure at three striker positions.
FWD is when the striker is fully forward in the slide and free of the trigger.  This is the last bit of "shove" the spring can give the striker before its momentum carries it into the primer.
Half is when the striker is caught on the trigger (trigger forward) at the start of pre-travel.
Break is when the striker is at maximum compression as it's released from the trigger.


Below are the trigger weights for each spring with HBI Theta Trigger, measured from the hook at the bottom of the trigger.


While it's obvious my measurements aren't 100% accurate, the spring weight data does correlate with the observed trigger pull weight.  However, the returns seem to diminish as decreasing striker weight does not scale linearly with weight at the trigger.  The HBI 3.5# reduces striker load at the break by 9% and results in a 9% lighter trigger.  The Wolff 5.0# reduces striker load by 32.6% at the break, but only 19.9% at the trigger. Interestingly enough, the lighter 5# spring has more spring pressure at the full forward position.  

Obviously there are a ton of other variables that effect trigger pull weight.  I'm not about to try to calculate the friction generated by each spring due to the slightly different diameters and number of coils.  No two springs are alike, and neither are guns.  But in my sample size of one, I'm going with the Wolff 5# Glock spring.

***Update***

I figured I should also calculate the amount of energy the spring can deliver to the striker.  I calculated the potential energy in Joules of each spring at the fully cocked position, just before the striker goes forward.  The results were interesting.


Due to the amount of preload, the lightest springs don't necessarily impart less energy.  With its longer starting length, the 3.5# HBI trigger imparts 7% more force on the striker than the stock one even though it reduced trigger pull by 9%.  Again, my measurements aren't perfect and I did not take into account the inertia of each spring or friction.